


 EN
EN ES
ES RU
RU AR
AR


+86-531-88239557
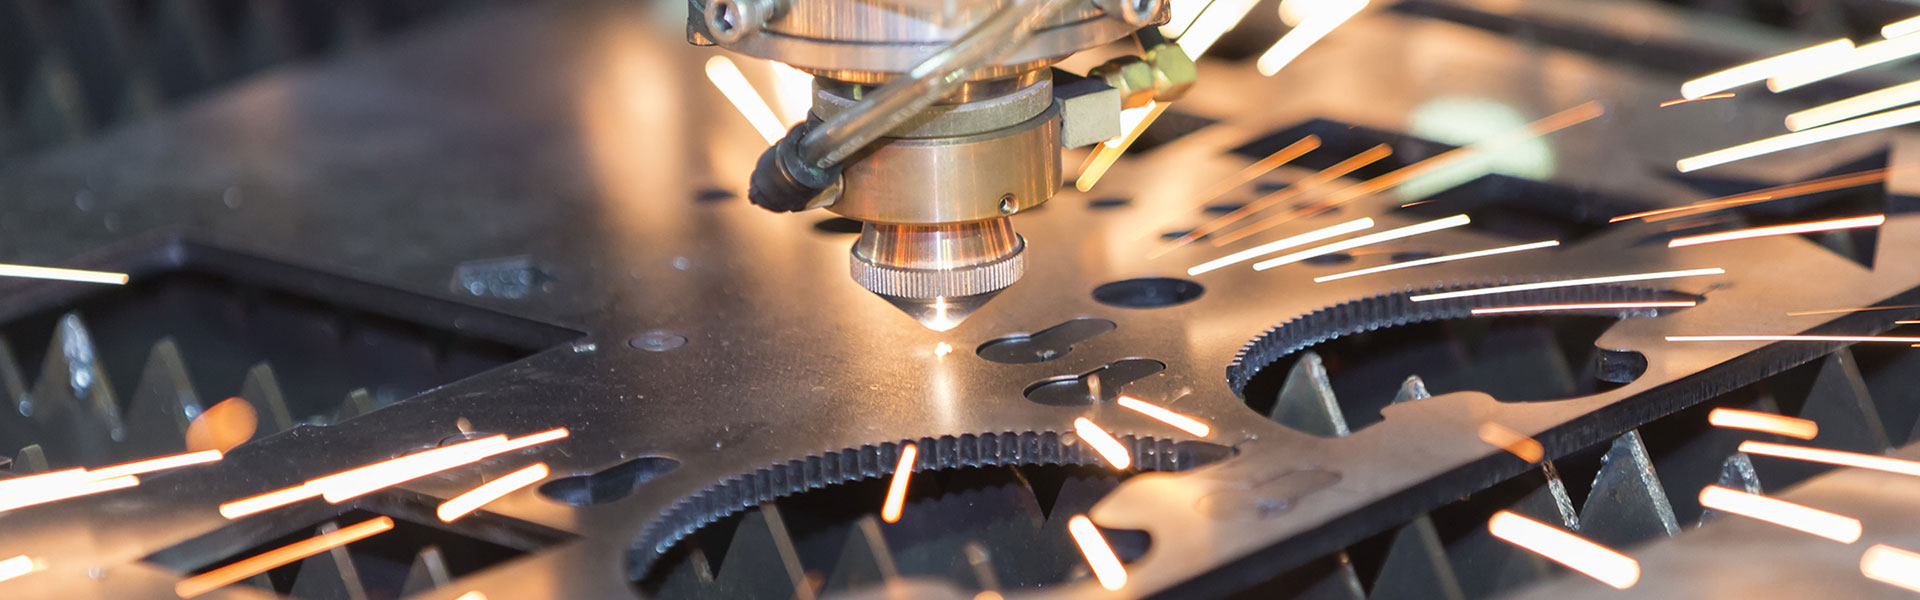
As a critical production process, welding directly impacts product quality and market competitiveness. Therefore, understanding how to correctly use a handheld fiber laser welding machine becomes essential in improving production efficiency and product quality. This article will provide you with a comprehensive tutorial about how to use laser welding machine for beginners. Whether you are a newcomer to laser welding or an experienced professional in the welding field, this article will offer valuable knowledge and practical guidance.
Preparations before Powering On:
1. Check the appearance of the laser welding machine, ensuring it is clean with no dust, oil, or debris accumulation.
2. Check the cooling system: Ensure the cooling water level is within the normal range and keep it clean.
3. Check the argon gas: Make sure the argon gas is properly connected and open.
Powering On:
1. Turn on the power supply.
2. Turn on the water chiller, laser generator, and other necessary components in sequence.
3. Open the protective gas valve and adjust the gas flow rate accordingly.
4. Select the appropriate mode and input the required parameters based on the workpiece to be welded.
5. Execute the welding operation.
Shutdown Procedure after Using the Handheld Welding Machine:
1. Exit the program and turn off the laser generator.
2. Turn off the dust collector, water chiller, and other related equipment in sequence.
3. Close the valve of the argon gas cylinder.
4. Turn off the main power switch.
Preparation: Firstly, clean and prepare the workpiece to be welded. Clean the metal surface to ensure there is no paint, debris, or rust, ensuring welding quality.
Workpiece Positioning: Place the workpiece to be welded in the appropriate position and use fixtures or positioners to secure it in place for stability. Before starting the laser welding process, ensure they are firmly clamped into position. Improper placement or alignment may result in poor welding effects.
Setting Welding Parameters: Determine the appropriate welding parameters, such as laser power, pulse frequency, focal length, etc., based on welding process requirements and material characteristics.
System Calibration: Connect the laser welding machine to the power source and perform system calibration. Ensure that all equipment and sensors are operating properly. Adjust the beam power and conduct tests on scrap materials and test pieces.
Alignment of Welding Points: Use appropriate alignment methods to align the laser beam of the laser welding machine with the welding position.
Start Welding: Press the start button or trigger to activate the laser welding machine and initiate the welding process. The laser beam will focus on the welding points, heating and melting the metal.
Control the Welding Process: During the welding process, maintain the relative position stability between the workpiece and the laser welding machine to ensure welding quality. Welding parameters can be adjusted as needed.
Complete Welding: When the welding is completed, stop the operation of the laser welding machine. After welding, let the parts cool naturally, or you can use water quenching or other cooling methods.
Inspect Welding Quality: Conduct a welding quality check, including weld quality, welding strength, welding deformation, etc. After metal connections, the welded area may require some post-processing. You can grind or polish the material to remove rough edges.
Cleanup: Clean the welding area and properly dispose of any waste or fumes generated during the welding process.
 No. 6-8,Binhe industrial park,Jiyang district,Jinan city,Shandong province, China
 +86-531-88239557
 info@raytu.com
 +8616653132325


